Tips and Tricks

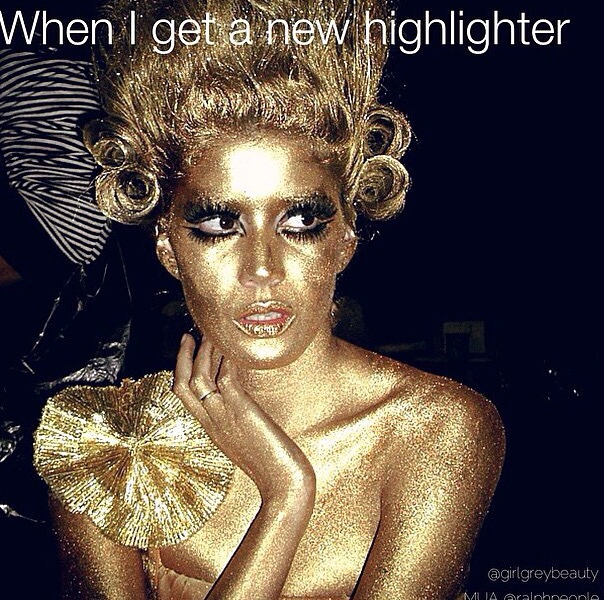
Tip Tuesday #91: How to apply your highlighter.

Here’s another tip for Tip Tuesday:

Tip Tuesday Make up tips and tricks every Tuesday | lookingjoligood.wordpress.com

Today’s tip is about how to apply your highlighter to get the best results.

You may be using the world’s best makeup, but when it comes right down to it, if you don’t use the correct technique it’s not going to look good on you.  Here are my tips on how to get the best results from your highlighter application.

highlighter | lookingjoligood.blog
Not my picture, but still so funny!
  1. Apply cream highlight before you set your face with powder, and powder highlighter after all of your cream products have already set.
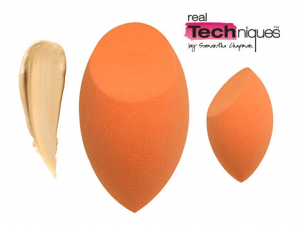
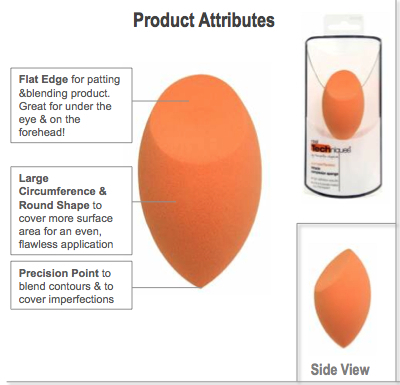
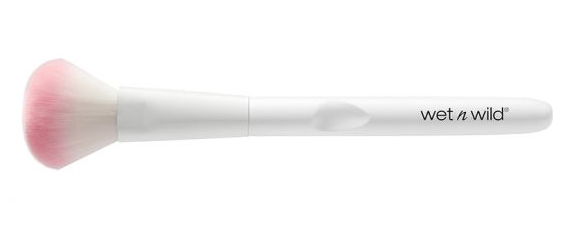
  2. Using a clean brush, makeup sponge, or your fingers, dip into the highlight,
  3. Tap away any excess, it is much easier to apply more than to try to blend out too much highlight.
  4. Sweep onto the high points of the face, as well as the areas you want to draw attention too:
    • the tops of the cheekbones
    • on your brow bone
    • down the bridge of your nose
    • on the Cupid’s bow of your lip
    • on the inner corners of your eyes
    • at the point of your chin
  5. Blend from the high points of the face out.

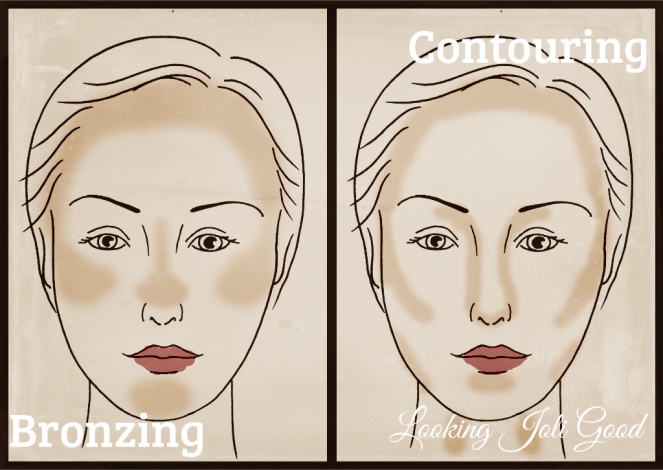
When done correctly, highlighting can help subtly enhance your facial features.  Another benefit of highlighting is giving a radiant glowing lit from within quality to the skin. Highlighting is the opposite of contouring. Contour creates shadows, highlighting does the opposite, it brings forward the area you apply the highlight.

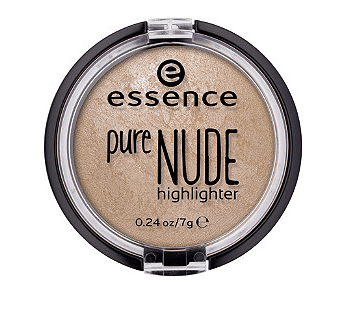
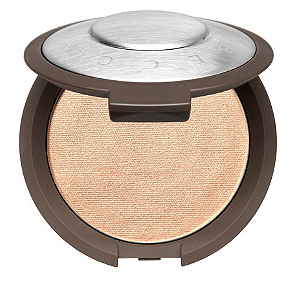
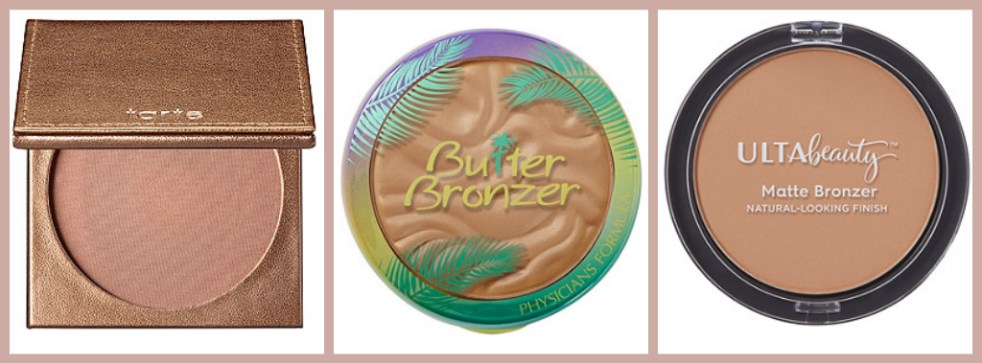
Two of my current favorite highlighters are:

ESSENCE Pure Nude Highlighter in Be My Highlight 01 $4.50

ESSENCE Pure Nude Highlighter in Be My Highlight 01 $4.50 | lookingjoligood.blog

BECCA Shimmering Skin Perfector Pressed Highlighter $38 available in 7 shades.

BECCA Shimmering Skin Perfector Pressed Highlighter
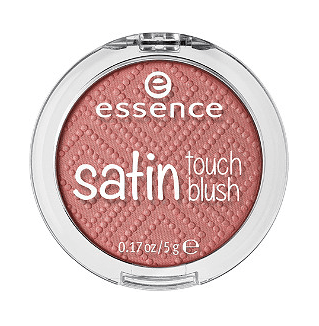
Check out previous Tip Tuesday for correct technique for bronzer application, as well as last week’s post about how to get the most out of your blush application.

Let me know if you try it out and what you think! If you are enjoying these tips every Tuesday you can check them all out by clicking HERE.

lookingjoligood.wordpress.com

I would love for you to follow me on TwitterInstagram,  Pinterest, and Facebook. You can find me as Looking Joli Good on all four.

Tips and Tricks

Tip Tuesday #90: How to apply your blush

Here’s another tip for Tip Tuesday:

Tip Tuesday Make up tips and tricks every Tuesday | lookingjoligood.wordpress.com

Today’s tip is about how to apply your blush to get the best results.

I love blush! It is one of the magical makeup products that can be applied quickly and simply, yet will instantly brighten your face. You may be using the world’s best makeup, but the truth is if you don’t use the correct technique it’s not going to look good on you.  Here are my tips on how to get the best results from your blush application.

  1. Apply powder blush after all of your cream products have already set.
  2. Using a clean brush, dip your brush into the blush, tap away any excess,  and sweep a small amount onto the apples of your cheeks only.
  3. Blend the color up, out, and along the tops of your cheekbones.
  4. If you prefer a bit more of a punch of color, you can also apply your blusher onto the cheeks with a makeup sponge.
    blush Laura | lookingjoligood.blog

By applying your blush to the apples of your cheeks only, you will be drawing the color up giving the face a lifted look.  Don’t apply blush below the cheekbone area, unless you want your face to have a drawn down look to it.

Two of my current favorite blushes are TARTE Amazonian Clay 12 Hour Blush $29 (available in 13 permanent shades and 6 limited edition shades) and the ESSENCE Satin Touch Blush $2.99 (available in only 2 shades)

Tarte blush | lookingjoligood.blog

Essence satin touch blush | lookingjoligood.blog

One of my favorite blush brushes costs less than $2 and comes from the drug store.

wet n wild blush brush | lookingjoligood.blog

The Wet N Wild blush brush is “Designed perfectly for the apples of your cheek, this brush is designed to make you blush! Featuring two-toned synthetic Polymax fibers made of an exclusive thermoplastic polymer complex that mimics the consistency of natural hairs to pick up formula effortlessly. Holds any cream, powder, or liquid formula without absorption. Exclusively designed ergonomic handle fits perfectly in your hand for precise application.”

Check out last week’s Tip Tuesday for correct technique for bronzer application. Next week’s Tip Tuesdays we’ll be discussing highlighter application.

Let me know if you try it out and what you think! If you are enjoying these tips every Tuesday you can check them all out by clicking HERE.

lookingjoligood.wordpress.com

I would love for you to follow me on TwitterInstagram,  Pinterest, and Facebook. You can find me as Looking Joli Good on all four.

Tips and Tricks

Tip Tuesday #89: How to apply your bronzer

Here’s another tip for Tip Tuesday:

Tip Tuesday Make up tips and tricks every Tuesday | lookingjoligood.wordpress.com

Today’s tip is about how to apply your bronzer to get the best results.


I am so pale, therefore, I NEED bronzer! Along with blush and mascara, it is one of those magical makeup products that can be applied quickly and simply, yet will instantly add life to your face.

Here are my tips on how to get the best results from your bronzer application.

  • Apply powder bronzer after all of your cream products have been set.
  • Using a clean fluffy brush, dip your brush into the bronzer, tap away any excess, don’t skip this part of the step
  • Sweep a small amount onto the areas where your skin would naturally pick up sun:
    • the top of the cheeks
    • on the nose
    • across the forehead
    • a touch on the chin
  • Blend the color up and out along the tops of your cheekbones and forehead.
  • Apply more as needed
  • Blend, blend, blend!

For shimmery formulas, only apply to the higher points of the face, similar to how you would apply highlighter.

Keep in mind that even if you are using the world’s best makeup, if you don’t use the correct technique it’s not going to look good on you.

Blush application Laura | lookingjoligood.blog

Three of my current favorite bronzers are:

bronzer | lookingjoligood.blog

Be sure to come back for next week’s Tip Tuesday about the correct technique for blush application. The following Tip Tuesdays we’ll be discussing highlighter application.

Let me know if you try it out and what you think! If you are enjoying these tips every Tuesday you can check them all out by clicking HERE.

lookingjoligood.wordpress.com

I would love for you to follow me on TwitterInstagram,  Pinterest, and Facebook. You can find me as Looking Joli Good on all four.

Tips and Tricks

Tip Tuesday #88: Contour vs Bronzer

Here’s another tip for Tip Tuesday:

Tip Tuesday Make up tips and tricks every Tuesday | lookingjoligood.wordpress.com

Today’s tip is about the difference between contour and bronzer

While both bronzer and contour products are usually a shade of brown, and they both go on the face, they are actually quite different.

Bronzers are generally warm-toned with orange or red undertones.  It is used to add warmth and life to the face in the areas that the sun would naturally hit your skin: the top of your forehead, nose, and cheeks.

Contour products are usually cool toned. The areas where the contour product is applied are the temples across the forehead at the hairline under the cheekbones and jawline, around the nose and under the lips.

While matte bronzers can be used for contour it is not ideal since contour is designed to mimic shadows on the face and not to warm up the completion.

Bronzing vs Contour | lookingjoligood.wordpress.com
Don’t confuse bronzing your face with contouring.  These are two different techniques.

Two of my current favorite contour products are:

Three of my current favorite bronzers are:

bronzer | lookingjoligood.blog


Be sure to come back for next week’s Tip Tuesday about the correct technique for bronzer application as well as the following Tip Tuesdays we’ll be discussing blush and highlighter application.

Let me know if you try it out and what you think! If you are enjoying these tips every Tuesday you can check them all out by clicking HERE.

lookingjoligood.wordpress.com

I would love for you to follow me on TwitterInstagram,  Pinterest, and Facebook. You can find me as Looking Joli Good on all four.

Tips and Tricks

Tip Tuesday #87: Simple Holiday Gifts

Here’s another tip for Tip Tuesday:

Tip Tuesday Make up tips and tricks every Tuesday | lookingjoligood.wordpress.com

Today’s tip is about how to make a simple gift seems special!

The holiday season can get quite hectic! There are so many things that need to be checked off the to-do list!  Simplify your gift giving by breaking up gift sets to make personalized gifts for several different people.

I found these great gift sets at Trader Joes.  Break them down into individual items, mix and match…img_20171207_0955071787471364.jpgadd in some delicious and super cute chocolate…img_20171207_095709586163563.jpg
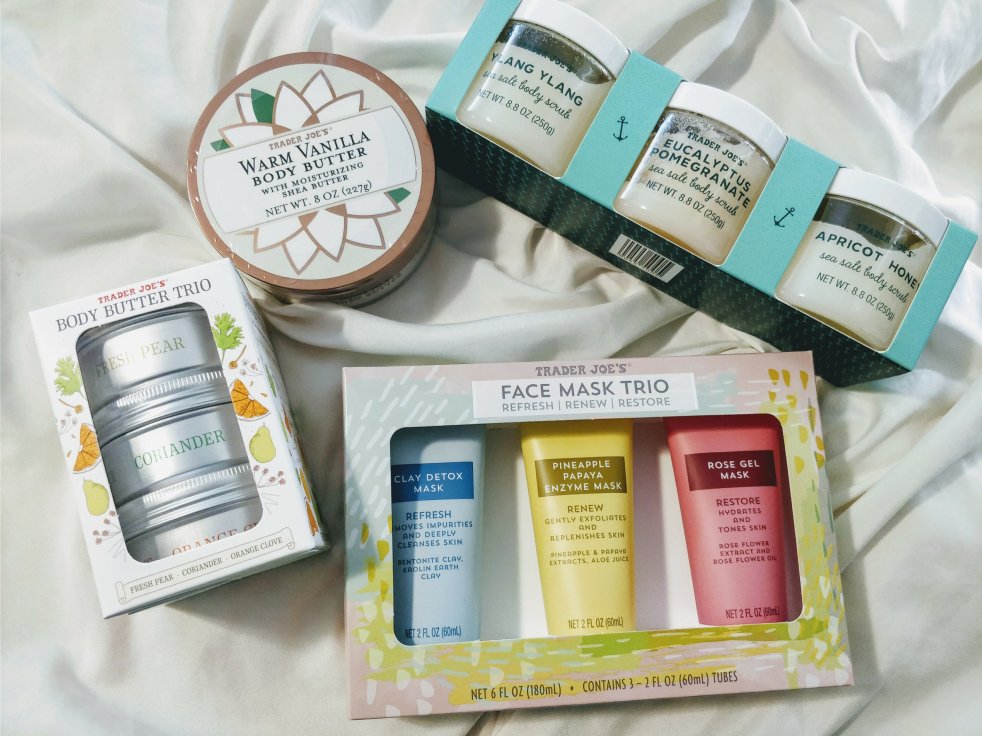
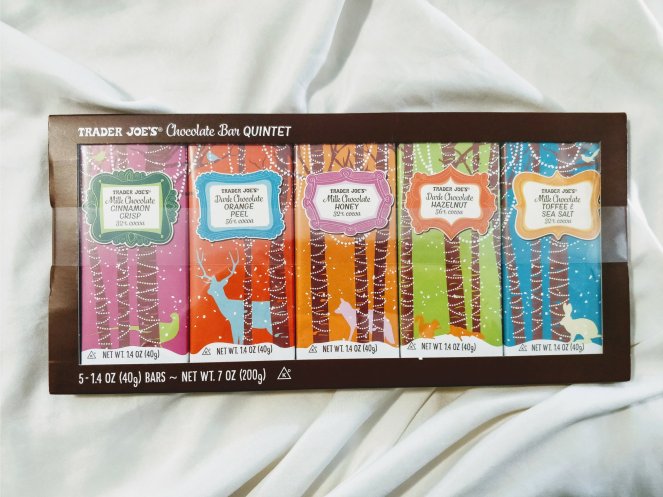
Put all these items into a gift bag with some pretty tissue paper and you will have a beautifully personalized gift that took you mere minutes to prepare.img_20171209_154750302243840.jpg
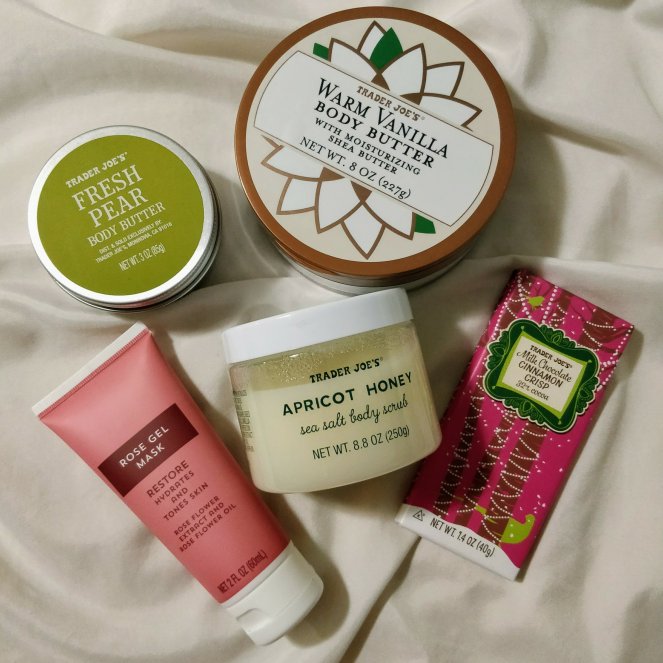
You can do this with any type of pre-packaged gift set.  There are all kinds available to choose from this time of year: lipstick, nail polish, eyeshadows, lotions and more.

Let me know if you try it out and what you think! If you are enjoying these tips every Tuesday you can check them all out by clicking HERE.

lookingjoligood.wordpress.com

I would love for you to follow me on TwitterInstagram, and Facebook.
You can find me as Looking Joli Good on all three.

Tips and Tricks

Tip Tuesday #86: Perfect Shade of Foundation Using Bronzer

Here’s another tip for Tip Tuesday:

Tip Tuesday Make up tips and tricks every Tuesday | lookingjoligood.wordpress.com

Today’s tip is about foundation and bronzer…

Tarte's Amazonian Clay Waterproof Bronzer in Park Ave Princess | lookingjoligood.wordpress.com

If you cannot find a shade of foundation that perfectly matches your skin and are trying to choose between too light and too dark, go with the lighter of the two.  After applying the lighter shade, use bronzer to add depth and life to the high points of your face.

Physicians Formula butter BB Bronzer | lookingjoligood.wordpress.com

Products pictured:

tarte park ave princess

physicians formula butter bronzer

Just be careful with how much bronzer you apply!  You don’t want to end up looking ridiculous ;-)…

Hello Bronzer! | lookingjoligood.wordpress.com

Let me know if you try it out and what you think! If you are enjoying these tips every Tuesday you can check them all out by clicking HERE.

lookingjoligood.wordpress.com

I would love for you to follow me on TwitterInstagram,  Pinterest, and Facebook. You can find me as Looking Joli Good on all four.

Tips and Tricks

Tip Tuesday #85

Here’s another tip for Tip Tuesday:

Tip Tuesday Make up tips and tricks every Tuesday | lookingjoligood.wordpress.com

Today’s tip is about liquid lipstick…

Due to the long-wearing matte formula of many liquid lipsticks, they can often dry out lips. If you are a liquid lipstick lover, it is important to give your lips lots of TLC with balms and exfoliation.

Rimmel London Show Off Lip Velvet liquid lipstick | lookingjoligood.wordpress.com

Let me know if you try it out and what you think! If you are enjoying these tips every Tuesday you can check them all out by clicking HERE.

lookingjoligood.wordpress.com

I would love for you to follow me on TwitterInstagram,  Pinterest, and Facebook. You can find me as Looking Joli Good on all four.

Tips and Tricks

Tip Tuesday #84

Here’s another tip for Tip Tuesday:

Tip Tuesday Make up tips and tricks every Tuesday | lookingjoligood.wordpress.com

Today’s tip is about how to get the most out of your false lashes:

  1. Start by curling your natural lashes and applying one coat of mascara so your lashes can support the weight of your falsies.
  2. Next, cut the lash band to the size of your lash line.
  3. Apply a thin layer of lash glue and wait for it to dry.
  4. Finally, start by applying the lashes on the outer corner, first moving to the inner corner, hugging the lash line tight.

wp-image-1145012643

Product pictured: Pur Pro Eyelashes

Let me know if you try it out and what you think! If you are enjoying these tips every Tuesday you can check them all out by clicking HERE.

lookingjoligood.wordpress.com

I would love for you to follow me on TwitterInstagram,  Pinterest, and Facebook. You can find me as Looking Joli Good on all four.

Tips and Tricks

Tip Tuesday #83

Here’s another tip for Tip Tuesday:

Tip Tuesday Make up tips and tricks every Tuesday | lookingjoligood.wordpress.com

Today’s tip is about how to get the most out of your face makeup!

Wet n Wild setting spray | lookingjoligood.wordpress.com

After I apply my primer, foundation and setting powder, I apply a few sprays of setting spray.  While applying setting spray is a great tip, that isn’t this week’s tip.  Before my setting spray is dry, I take my beauty sponge and press the setting spray into my face.  Not only does this extend the length of my makeup, but it also takes away any of the powderiness, giving the face a more natural look.

Real Techniques Miracle Complexion Sponge |lookingjoligood.wordpress.com

Products mentioned:


Let me know if you try it out and what you think! If you are enjoying these tips every Tuesday you can check them all out by clicking HERE.

lookingjoligood.wordpress.com

I would love for you to follow me on TwitterInstagram,  Pinterest, and Facebook. You can find me as Looking Joli Good on all four.

Tips and Tricks

Tip Tuesday #82

Here’s another tip for Tip Tuesday:

Tip Tuesday Make up tips and tricks every Tuesday | lookingjoligood.wordpress.com

Today’s tip is about how to get the best foundation application!

  1. Clean and tone your skin.  A great base starts with prepped skin.
  2. Moisturize your face. Give the moisturizer time to sink into the skin.
  3. Prime your face.  Choose your primer based on what you want it to do.
  4. Apply a small amount of foundation to start.  It is better to need to apply more to increase coverage than to have too much on right from the start.
  5. Apply a fine layer of loose setting powder to the entire face concentrating on problem areas of your face.
  6. Lightly spray your face with a setting spray.
Coty Airspun Powder
Yup, it smells like your grandmother, but it’s been around since 1935 for a reason!

Let me know if you try it out and what you think! If you are enjoying these tips every Tuesday you can check them all out by clicking HERE.

lookingjoligood.wordpress.com

I would love for you to follow me on TwitterInstagram,  Pinterest, and Facebook. You can find me as Looking Joli Good on all four.