Tip Tuesday #98: A Makeup Mistake That Makes You Look Older Tip 2 Blush
Here’s another tip for Tip Tuesday:

Today’s tip is about Makeup Mistake That Makes You Look Older #2:
As I mentioned, there is nothing wrong with getting older, but there is no reason to make yourself look older than you are. For the next few weeks, I’m going to give some tips on which makeup mistakes to avoid making yourself look older than you actually are.
Don’t be too hard on yourself, we all make mistakes. 😉
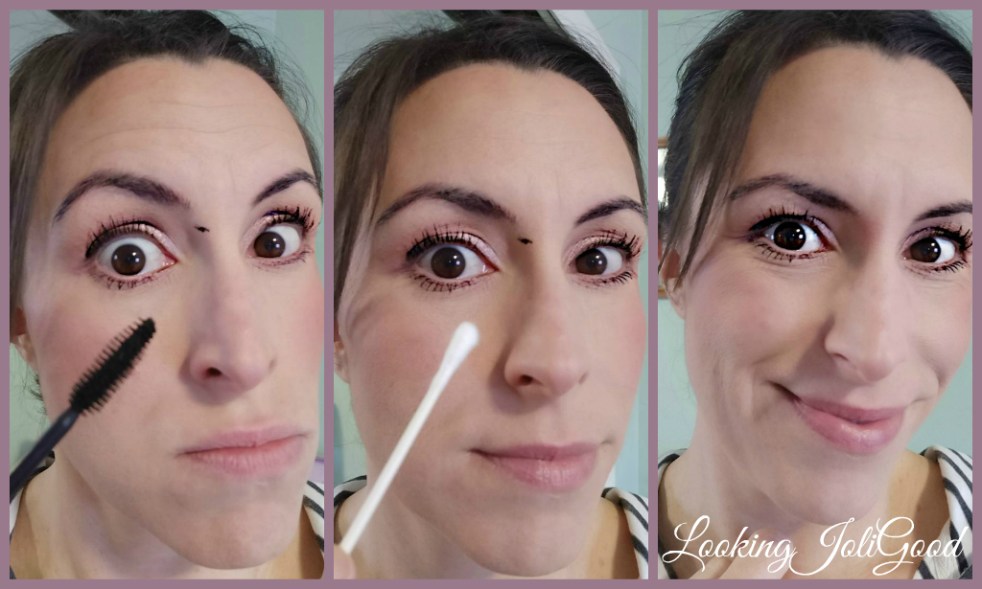
Tip 2: Choose the correct color of blush! I LOVE blush! It is one of the magical makeup products that can be applied quickly and simply, yet will instantly add brightness and life to your face.
While adding blush to the apples of your cheeks can give the face a lifted look, blush can quickly go from magic to a tragic if you choose a color that is too dark. Depending on your skin tone, a soft peach or rosy hue can add a youthful glow to the face, but a too dark shade will make the face look dull and tired.
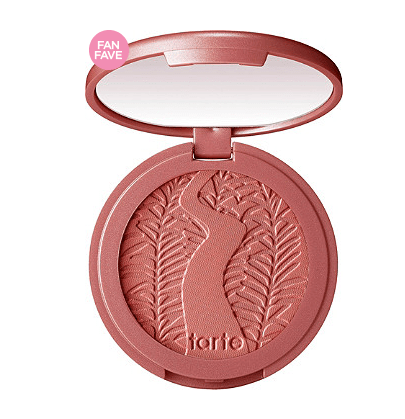
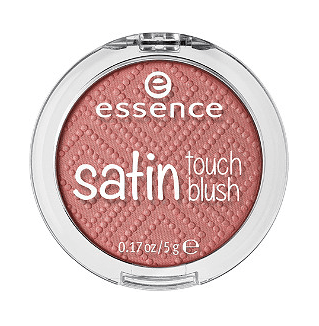
Two of my current favorite blushes are TARTE Amazonian Clay 12 Hour Blush $29 (available in 13 permanent shades and 6 limited edition shades) and the ESSENCE Satin Touch Blush $2.99 (available in only 2 shades)

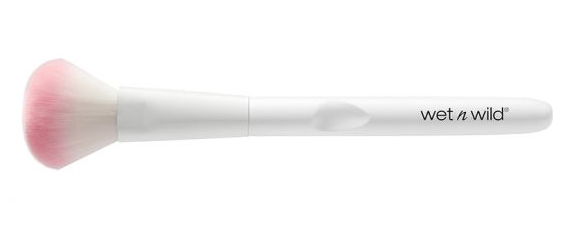
One of my favorite blush brushes,The Wet N Wild blush brush, costs less than $2 and comes from the drug store.
Let me know if you try it out and what you think! If you are enjoying these tips every Tuesday you can check them all out by clicking HERE. You can read more about my tip for proper blush application by clicking HERE.
 In the above photo, I am wearing TARTE Amazonian Clay 12 Hour Blush in the shade Paaaarty. It is a perfect hue for my pale skin.

I would love for you to follow me on Twitter, Instagram, Pinterest, and Facebook. You can find me as Looking Joli Good on all four.